Your Personal Internet Guardian: How to Build a FREE Ad-Blocker in the Cloud! 🚀
Hey everyone! A while back, I wrote a guide on setting up AdGuard Home on Linode. The world of tech moves fast, and it’s time for an upgrade! Today, we’re going to build our own powerful, network-wide ad-blocker using Amazon Web Services (AWS), and we’ll make it secure with our own domain and SSL certificate.
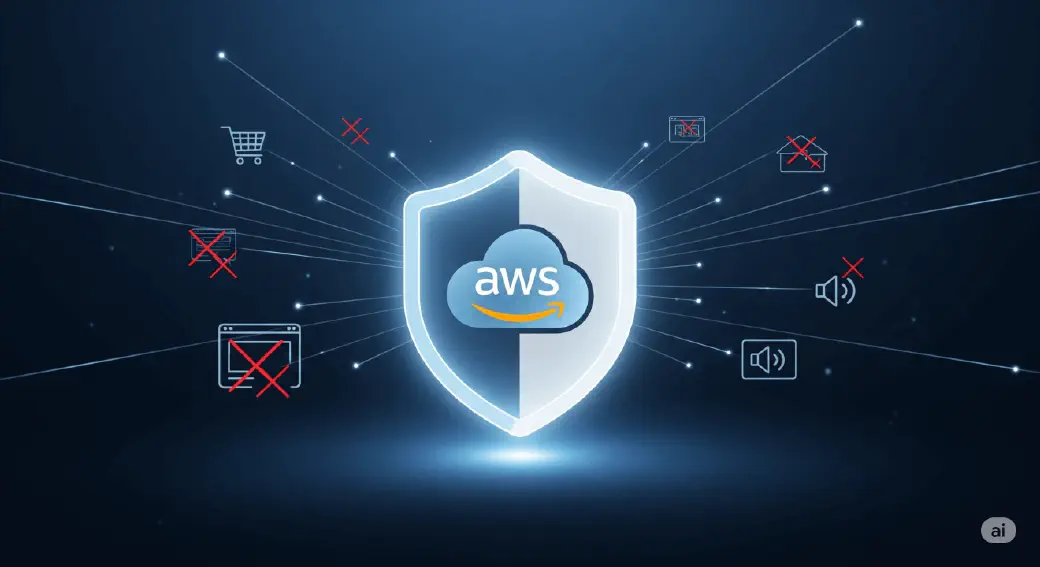
Think of this as building a digital gatekeeper for your internet. Before any ads, trackers, or malicious sites can reach your devices, our AdGuard Home server will slam the door shut. The best part? This works on your phone, laptop, smart TV—anything on your network—without installing a single app on them.
This guide is for everyone, from seasoned tech wizards to curious beginners. We’ll break down every step in simple terms, so grab a coffee, and let’s build something awesome!
## Chapter 1: Building Our Home in the AWS Cloud ☁️
First, we need a server. We’ll use an Amazon EC2 instance, which is just a fancy name for a virtual computer that you rent.
Sign Up for AWS: If you don’t have an account, head to the AWS website and sign up. You’ll need a credit card for verification, but for this guide, we can often stay within the Free Tier.
Launch Your EC2 Instance:
- Log in to your AWS Console and search for EC2.
- Click “Launch instance”.
- Name: Give your server a cool name, like
AdGuard-Server. - Application and OS Images: In the search bar, type
Debianand select the latest version (e.g., Debian 12). Make sure it’s marked “Free tier eligible”. - Instance Type: Choose
t2.micro. This is your free, trusty little server. - Key Pair (for login): This is your digital key to the server’s front door. Click “Create a new key pair”, name it something like
my-adguard-key, and download the.pemfile. Keep this file secret and safe! - Network settings (The Firewall): This is crucial. We need to tell our server which doors to open. Click “Edit”.
- Check the box for “Allow SSH traffic from” and select
My IP. This lets you securely log in. - Check “Allow HTTPS traffic from the internet” and “Allow HTTP traffic from the internet”. We’ll need these for our secure dashboard later.
- Check the box for “Allow SSH traffic from” and select
Launch It! Hit the “Launch instance” button and watch as your new cloud server comes to life.
Give Your Server a Permanent Address (Elastic IP):
- By default, your server’s public IP address will change every time it reboots. Let’s make it permanent!
- In the EC2 menu on the left, go to “Elastic IPs”.
- Click “Allocate Elastic IP address” and then “Allocate”.
- Select the new IP address from the list, click “Actions”, and then “Associate Elastic IP address”.
- Choose your
AdGuard-Serverinstance from the list and click “Associate”. - Your server now has a static IP address that will never change! Make a note of this new IP.
## Chapter 2: Opening the Doors (Configuring the Firewall) 🚪
Our server is running, but for maximum security, we want to ensure only you can access the administrative parts of it. We’ll open the public DNS ports to everyone, but lock down the management ports to your home IP address.
Find Your Public IP Address: Open a new browser tab and go to a site like WhatIsMyIP.com. It will display your home’s public IP address. Copy this IP address (it will look something like
203.0.113.55).Edit the Firewall Rules: Go to your EC2 Instance details, click the “Security” tab, and click on the Security Group name.
Click “Edit inbound rules” and “Add rule” for each of the following. This makes sure your DNS is publicly available but the setup panel is locked down to your IP only.
Rule for AdGuard Setup (Port 3000):
- Type:
Custom TCP - Port range:
3000 - Source: Paste your IP address here, and add
/32to the end (e.g.,203.0.113.55/32). The/32tells AWS it’s a single, specific IP address.
- Type:
Rule for DNS (Port 53):
- Type:
Custom UDPandCustom TCP(you will add two separate rules for this port) - Port range:
53 - Source:
Anywhere-IPv4
- Type:
Rule for DNS-over-TLS (Port 853):
- Type:
Custom TCP - Port range:
853 - Source:
Anywhere-IPv4
- Type:
Click “Save rules”. Your firewall is now configured to allow public DNS requests while keeping your management panel secure.
## Chapter 3: Installing AdGuard Home 🛡️
Now, let’s connect to our server and install the magic software.
- Connect via SSH: Open a terminal (PowerShell on Windows, Terminal on Mac/Linux) and use the key you downloaded to connect. Use your new Elastic IP address!
# Replace the path and Elastic IP with your own ssh -i "path/to/my-adguard-key.pem" admin@YOUR_ELASTIC_IP - Install AdGuard Home: Run this one simple command. It downloads and installs everything for you.
curl -s -S -L [https://raw.githubusercontent.com/AdguardTeam/AdGuardHome/master/scripts/install.sh](https://raw.githubusercontent.com/AdguardTeam/AdGuardHome/master/scripts/install.sh) | sh -s -- -v - Run the Setup Wizard: The script will give you a link, like
http://YOUR_ELASTIC_IP:3000. Open this in your browser. Follow the on-screen steps to create your admin username and password.
## Chapter 4: Teaching Your Guardian Who to Trust and What to Block
With AdGuard Home installed, the next step is to configure its core brain: the DNS servers it gets its answers from and the blocklists it uses to protect your network.
1. Setting Up Upstream DNS Servers
Think of “Upstream DNS Servers” as the giant, public phonebooks of the internet. When your AdGuard server doesn’t know an address (and it’s not on a blocklist), it asks one of these upstreams. It’s recommended to use a mix of the best encrypted DNS providers for security, privacy, and speed.
In the AdGuard dashboard, go to Settings -> DNS settings. In the “Upstream DNS servers” box, enter the following, one per line:
- Quad9: Focuses heavily on security, blocking malicious domains.
- Google: Known for being very fast.
- Cloudflare: A great all-around choice with a strong focus on privacy.
2. Optimizing DNS Performance
Still in the DNS settings page, scroll down to optimize how your server queries the upstreams.
Parallel requests: Select this option. This is the fastest and most resilient mode. It sends your DNS query to all three of your upstream servers at the same time and uses the answer from the very first one that responds. This ensures you always get the quickest possible result.
Enable EDNS client subnet (ECS): Check this box. This is very important for services like Netflix, YouTube, and other content delivery networks (CDNs). It helps them give you content from a server that is geographically closest to you, resulting in faster speeds and a better experience.
3. Enabling DNSSEC
Right below the upstream servers, there’s a checkbox for “Enable DNSSEC”. You should check this box. DNSSEC is like a digital wax seal on a letter; it verifies that the DNS answers you’re getting are authentic and haven’t been tampered with. It’s a simple, one-click security boost.
4. Choosing Your Blocklists
This is the fun part—the actual ad-blocking! Go to Filters -> DNS blocklists. For a “Balanced & Powerful” setup that blocks aggressively without a high risk of breaking websites, enable the following lists:
- AdGuard DNS filter: A great, well-maintained baseline.
- OISD Blocklist Big: Widely considered one of the best all-in-one lists for blocking ads, trackers, and malware.
- HaGeZi’s Pro Blocklist: A fantastic list that adds another layer of aggressive blocking for privacy.
- HaGeZi’s Threat Intelligence Feed: A crucial security-only list that focuses on protecting against active threats like phishing and malware.
This combination will give you robust protection against both annoyances and real dangers.
## Chapter 5: Giving Your Server a Name (Free Domain with No-IP) 📛
An IP address is hard to remember. Let’s get a free, memorable name for our server.
- Sign Up at No-IP: Go to No-IP.com, create a free account, and create a hostname (e.g.,
my-dns.ddns.net). - Point it to Your Server: When creating the hostname, enter your server’s permanent Elastic IP address. Confirm your account via email.
## Chapter 6: Making It Secure with SSL/TLS 🔐
We’ll use Let’s Encrypt and Certbot to get a free SSL certificate, which lets us use secure https:// and encrypted DNS.
Install Certbot: In your SSH session, run these commands:
sudo apt update sudo apt install certbot -yGet the Certificate: Run this command, replacing the email and domain with your own.
# This command will temporarily stop any service on port 80, get the certificate, and then finish. sudo certbot certonly --standalone --agree-tos --email [email protected] -d your-no-ip-hostname.ddns.netIf it’s successful, it will tell you where your certificate files are saved (usually in
/etc/letsencrypt/live/your-no-ip-hostname.ddns.net/).Configure AdGuard Home Encryption:
- Go to your AdGuard Home dashboard (Settings -> Encryption settings).
- Check “Enable encryption”.
- In the “Server name” field, enter your No-IP hostname.
- Under “Certificates”, choose “Set a certificates file path”.
- Certificate path:
/etc/letsencrypt/live/your-no-ip-hostname.ddns.net/fullchain.pem - Private key path:
/etc/letsencrypt/live/your-no-ip-hostname.ddns.net/privkey.pem
- Certificate path:
- Click “Save configuration”. The page will reload on a secure
https://connection!
## Chapter 7: Automating SSL Renewal (Cron Job Magic) ✨
Let’s Encrypt certificates last for 90 days. We can tell our server to automatically renew them.
- Open the Cron Editor: In SSH, run
sudo crontab -eand choosenanoas your editor. - Add the Renewal Job: Add this line to the bottom of the file. It tells the server to try renewing the certificate every day at 2:30 AM.
30 2 * * * systemctl stop AdGuardHome.service && certbot renew --quiet && systemctl start AdGuardHome.service - Save and exit (
Ctrl+X, thenY, thenEnter). Your server will now keep its certificate fresh forever!
## Chapter 8: Testing Your New Superpowers (DoH & DoT) 🧪
For a direct confirmation, I used these commands on my computer:
DNS-over-HTTPS (DoH) Test: This test checks if the secure web endpoint for DNS is alive.
curl -v [https://your-no-ip-hostname.ddns.net/dns-query](https://your-no-ip-hostname.ddns.net/dns-query)I got a “405 Method Not Allowed” error, which sounds bad but is actually great news. It means I successfully connected to the server, which correctly told me I didn’t send a real query. The connection works!
DNS-over-TLS (DoT) Test: This checks the dedicated secure port for DNS. I used a tool called
kdig.# I had to install it first with: sudo apt install knot-dnsutils kdig @your-no-ip-hostname.ddns.net +tls-ca +tls-host=your-no-ip-hostname.ddns.net example.comThe command returned a perfect DNS answer for
example.com, confirming the secure tunnel was working.
## Chapter 9: Protecting Your Kingdom (Router & Phone Setup) 🏰
Now, let’s point your devices to their new guardian.
- On Your Home Router: Log in to your router’s admin page, find the DNS settings, and enter your server’s Elastic IP as the primary DNS server. Leave the secondary field blank! This forces all devices on your Wi-Fi to be protected. Then, restart your router.
- On Your Mobile Phone:
- Android: Go to Settings -> Network -> Private DNS. Choose “Private DNS provider hostname” and enter your No-IP hostname (
my-dns.ddns.net). This gives you ad-blocking everywhere, even on cellular data! - iOS: You can use a profile to configure DoH. A simple way is to use a site like AdGuard’s DNS profile generator, but enter your own server’s DoH address (
https://my-dns.ddns.net/dns-query).
- Android: Go to Settings -> Network -> Private DNS. Choose “Private DNS provider hostname” and enter your No-IP hostname (
## Chapter 10: The Ultimate Safety Net (Creating a Snapshot) 📸
Finally, let’s back up our perfect setup.
- In the EC2 Console, go to your instance details.
- Click the “Storage” tab and click the “Volume ID”.
- Click “Actions” -> “Create snapshot”.
- Give it a description, like
AdGuard-Working-Setup-Backup.
If you ever mess something up, you can use this snapshot to restore your server to this exact working state in minutes.
## Bonus Chapter: Common Troubleshooting Tips
If things aren’t working, here are a few common pitfalls to check:
- Browser Overrides Everything: If one device isn’t blocking ads, check its browser settings! Modern browsers like Chrome have a “Secure DNS” feature that can bypass your custom setup. You may need to turn this off.
- Check Your Laptop’s DNS: Make sure your computer’s network settings are set to “Obtain DNS automatically” so it listens to the router. A manually set DNS on your PC will ignore the router’s settings.
- Beware of IPv6: If you run into trouble on one device, try disabling IPv6 in that device’s Wi-Fi adapter properties to force it to use your working IPv4 setup.
## It’s a Wrap!
And there you have it! You’ve successfully built a personal, secure, ad-blocking DNS server in the cloud. You’ve learned about cloud computing, firewalls, DNS, SSL, and automation. Go enjoy a faster, cleaner, and more private internet experience.